TuneKey
TuneKey is a new (and ever-improving) app that my students use to confirm lesson schedules, access recordings and other resources, log practice sessions, evaluate practice habits, and more. If you haven’t yet installed TuneKey on your device, please click here to download the app and get started. Then just read on for step-by-step instructions for accomplishing each of the following common TuneKey functions:
TuneKey is a new (and ever-improving) app that my students use to confirm lesson schedules, access recordings and other resources, log practice sessions, evaluate practice habits, and more. If you haven’t yet installed TuneKey on your device, please scan the QR code with your phone camera or click here to download the app and get started. Then just read on for step-by-step instructions for accomplishing each of the following common TuneKey functions:
Lessons tab
Adding an extra lesson
- Navigate to your list of upcoming lessons.
- Tap “Add Lessons” in the top right of the screen.
- At the bottom of the screen, tap “Add private lesson.”
- Tap to place a green check mark next to the type of lesson and duration (half-hour or full-hour) you’d like to schedule, and tap the “Next” button.
- Confirm that “David M. Glasgow” is checked as instructor and tap Next.
- For most lessons, you’ll need to choose “The Perfect 5th” as a location. If that location is not convenient for you, tap the “Online” radio button instead. Once the correct location is selected, tap “Next.”
- Tap “Next” to skip the “Recurrence” slider. (Do not attempt to schedule recurring lessons in TuneKey! If you are interested in recurring lessons, I strongly recommend my Subscription plan—please contact me to discuss details.)
- Confirm that the details of your request are correct, and tap “Send Confirmation.” I’ll respond, usually within 24 hours, to confirm your request or discuss other options.
Canceling a lesson
- Navigate to your list of upcoming lessons.
- Tap on the date or time of the lesson you’d like to reschedule. (Do NOT tap on the green arrow at the right edge of the screen.) As long as more than 24 hours remain before the scheduled start of the lesson, you’ll see links to “Cancel Lesson” or “Reschedule.”
- Tap “Cancel Lesson.”
- Tap “I’m sure.”
Registering for a masterclass
- Navigate to your list of upcoming lessons.
- Tap “Add Lessons” in the top right of the screen.
- Tap “Join group lesson.”
- Locate the class you wish to join in the list that appears, and tap it to mark it with a green check.
- Tap “Next.”
- Confirm that the details displayed match the class you want to join, and tap “Join In.”
- The class should now appear in your list of upcoming lessons.
Rescheduling a lesson
- Navigate to your list of upcoming lessons.
- Tap on the date or time of the lesson you’d like to reschedule. (Do NOT tap on the green arrow at the right of the screen.) As long as more than 24 hours remain before the scheduled start of the lesson, you’ll see links to “Cancel Lesson” or “Reschedule.”
- Tap “Reschedule.”
- Use the calendar that appears to navigate to the date to which you’d like to reschedule the lesson and tap that day number.
- You will probably need to scroll down a bit to see the “Convenient Times” that are available on your selected date.
- Tap on the time slot to which you’d like to reschedule.
- Tap the green “Send Request” button. TuneKey will notify me of your request and I’ll respond to confirm or request another alternative as promptly as possible.
Viewing your schedule
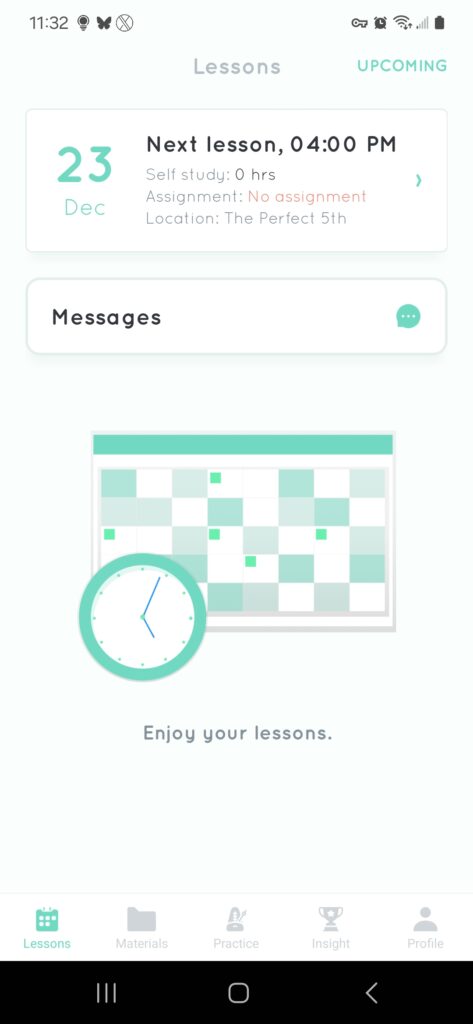
- In the top-right corner of the Lessons tab you’ll see a link labeled “Upcoming.” Tap that link.
- You’ll now see a list of all upcoming lessons.
Materials tab
- Tap the Settings icon in the top right. (
)
- Set “Apply to” to “All folders.”
- Set “View” to “List view.”
- Set “Sort” to “File name.”
- Set “Order” to “Ascending.”
- Turn Grouping OFF.
- Tap the “back” arrow in the top left corner.
You are, of course, welcome to adjust these settings to your own personal preferences as you work more with TuneKey, but I find that these settings are the most intuitive for new users.
Accessing materials
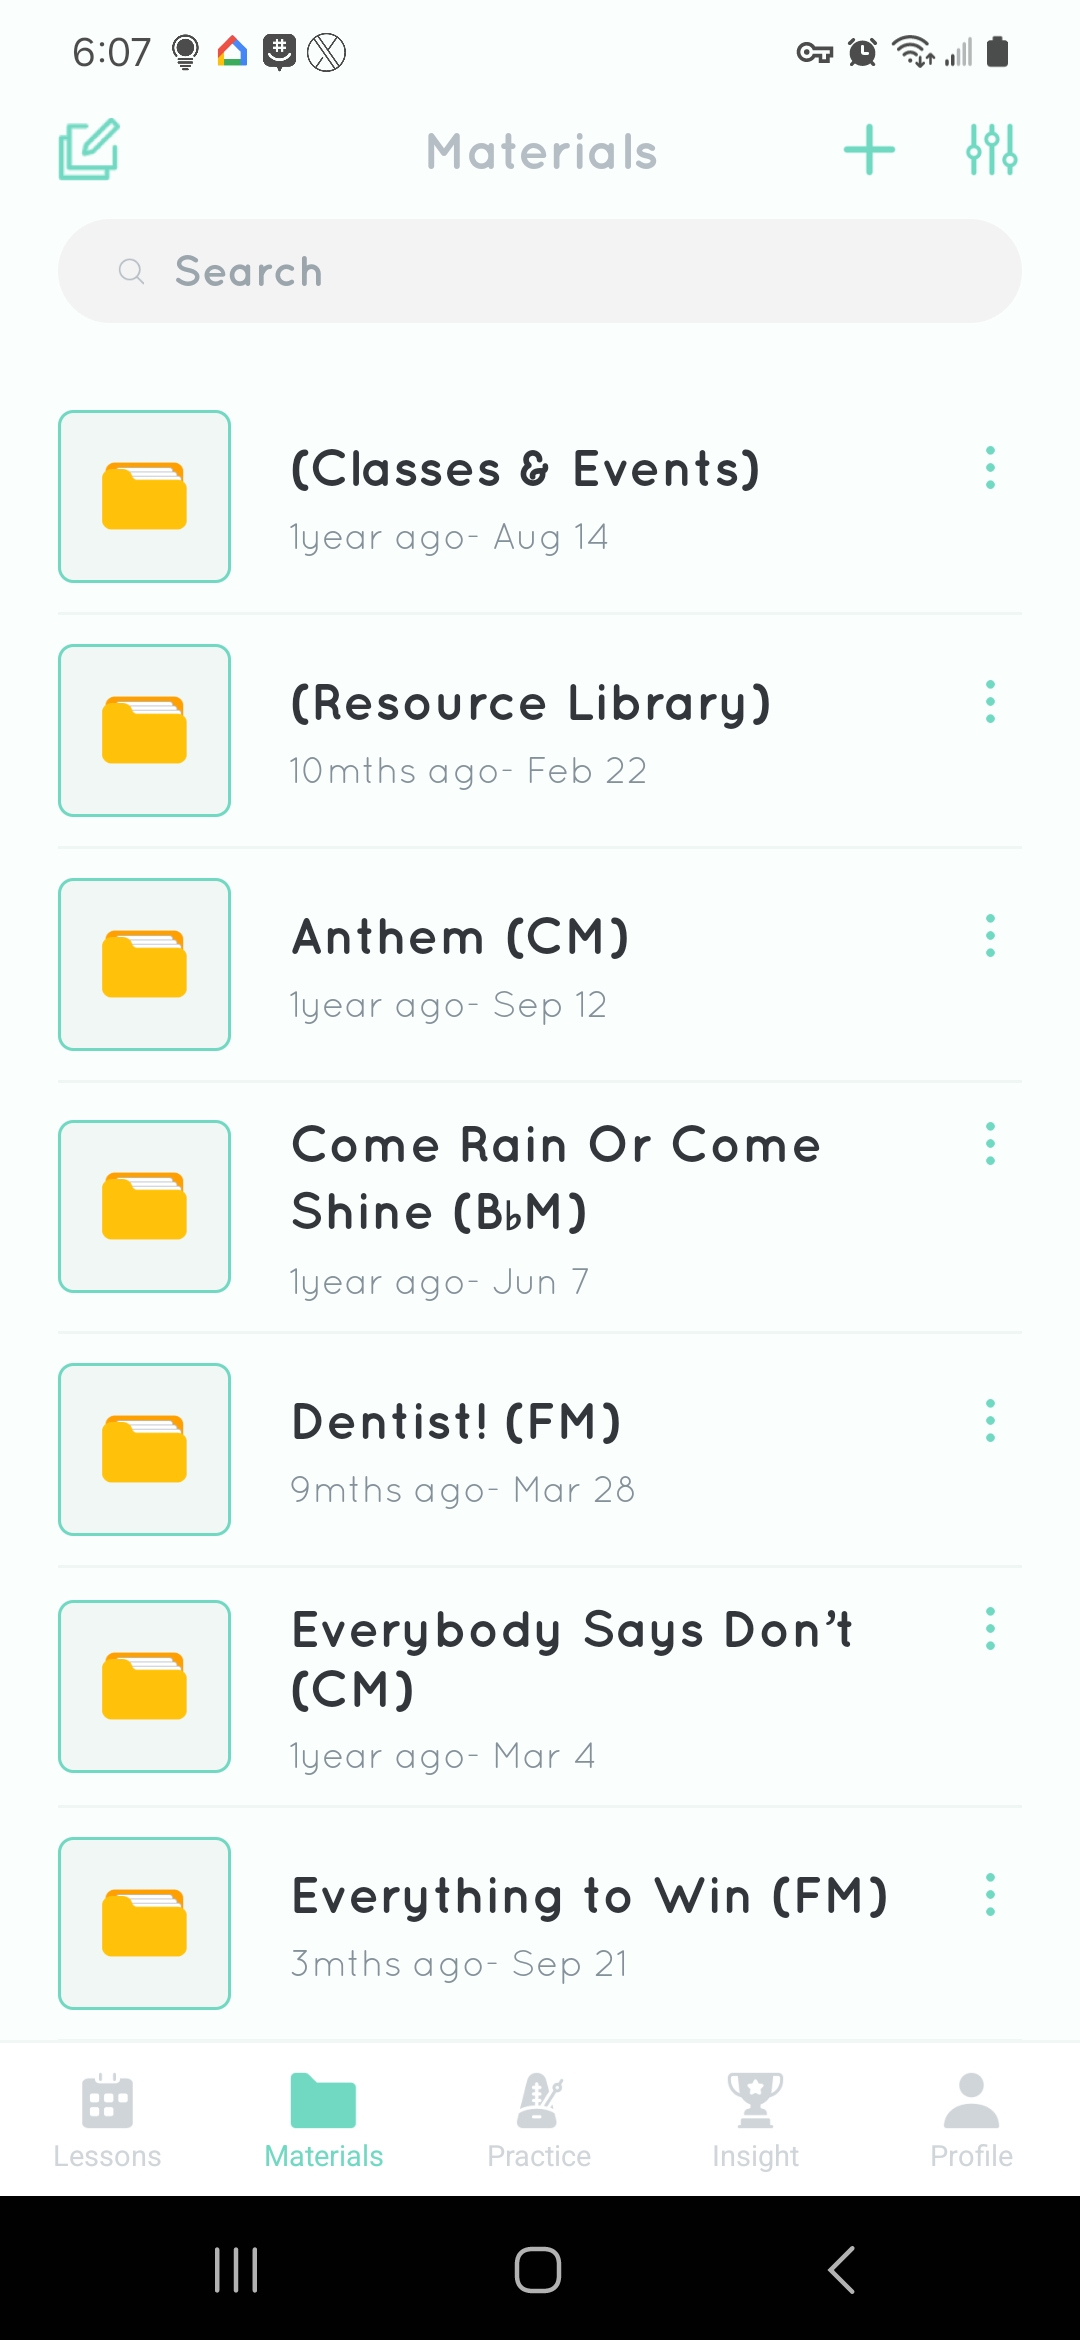
In the Materials tab, you’ll find a folder for each title you’re working on with me. Most such folders will include a PDF of the charts for the piece, along with two audio files—an “accompaniment” or “piano only” track, and a “teaching track” that includes the accompaniment plus a wind instrument playing the vocal melody line to assist with notes and rhythms. Navigating the Materials tab is fairly intuitive: To view the contents of a folder or file, simply tap on it.
If you’d like to download a file to your device, you can do that by tapping the “Share” icon (). Note that audio files cannot yet be downloaded from within TuneKey—if you need to download an audio file, let me know.
The Resource Library
One very special folder in the Materials tab is the Resource Library, which includes resources I’ve created and curated from across the web, that I find useful for students who want to dig a little deeper into their work (or just have fun “geeking out”!). I often share specific items from this Library with students as part of their lesson notes, but I encourage you to explore the contents of this folder and see what piques your interest!
Practice tab
Logging practice time
- Go to the Practice tab.
- If you are logging practice that happened today, tap the “Log” button.
- If you are logging practice that happened before today, tap the “Log for previous days” link, then tap the date of the practice session you’re recording and click “Confirm.”
- Tap “Add Piece.”
- Enter the title of the piece you worked on (or any other description that you’ll find helpful when you review your practice history).
- Tap “Add Minutes.”
- Enter the number of minutes you spent working on this particular item.
- Tap “Confirm.”
- Your practice session should now appear on the Log Sheet.
Recording audio or video
- On the Practice tab, tap “Record Practice.”
- Tap either “Audio Recording” or “Video Recording.”
- Tap “Add Piece.”
- Enter a title for the recording.
- Tap “Get Started.”
- Your device may request permission to access your microphone and/or camera. You’ll need to grant this permission in order to make recordings.
- Recording will start.
- When you finish recording, TuneKey will give you a chance to:
- review it (
)
- share or download it (
)
- upload it for my review (
)
- delete it (
)
- review it (
- Completed recordings will appear in your Log Sheet.
Using the TuneKey metronome
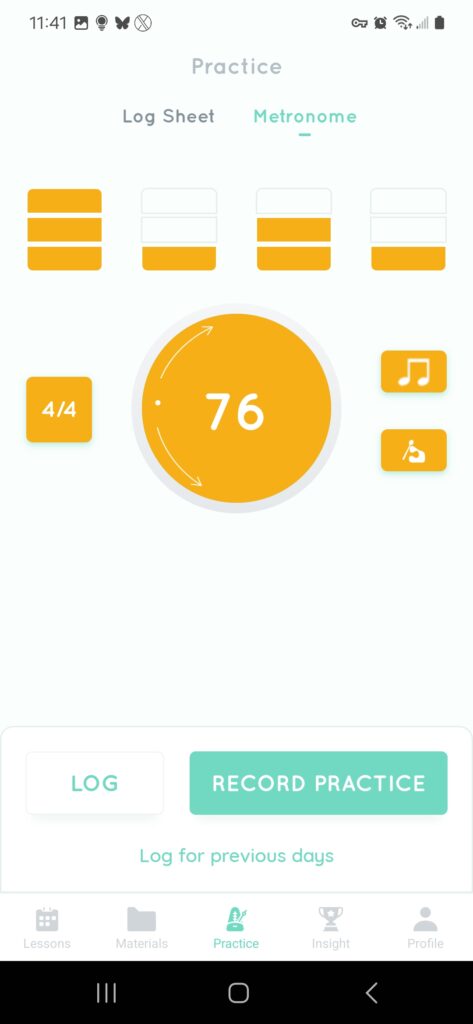
- At the top of the Practice tab, tap “Metronome.”
- Tap the square button on the left (
) to set the time signature.
- Use the rectangles at the top of the metronome to select accent levels (strong, secondary, or standard) for each beat of the measure. For instance, to set the beats of a measure of 4/4 time to STRONG — standard — secondary — standard, set the accent levels like this:
- Tap the “Note” button (
) to subdivide the beat into 1, 2, 3, or 4 subdivisions. (Each tap advances to the next subdivision option.)
- Tap the “Speaker” button to select a sound set:
- electronic (
)
- percussion (
)
- metronome (
)
- wood blocks (
)
- electronic (
- Scroll the center wheel clockwise or counter-clockwise to set the tempo.
- Tap the center wheel to start and stop the metronome.
Insight tab
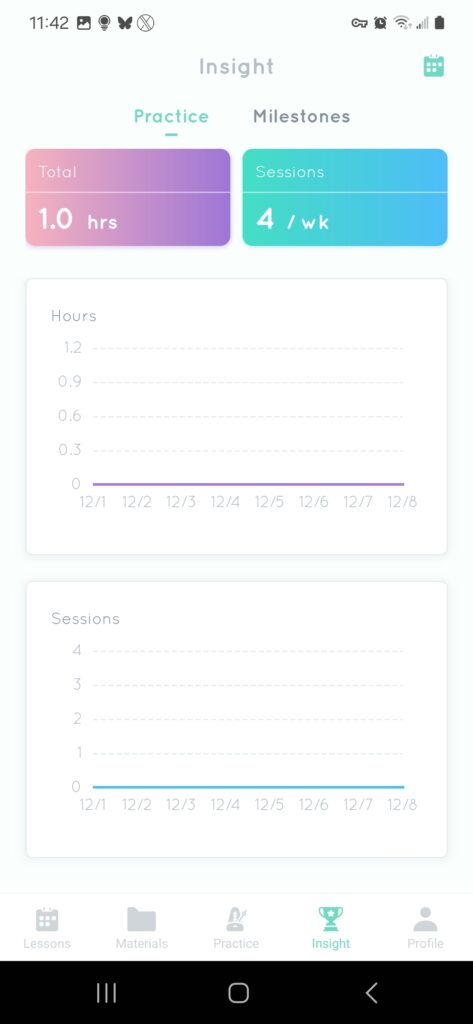
The Insights tab allows you to view your practice habits over any period of time you select. Simply tap the calendar in the top-right corner to adjust the frame of reference.
(There’s also a “Milestones” tab that will show you any awards I may have given you during that time period, though I confess I’m not great at remembering to give students TuneKey awards.… 😬)
Profile tab
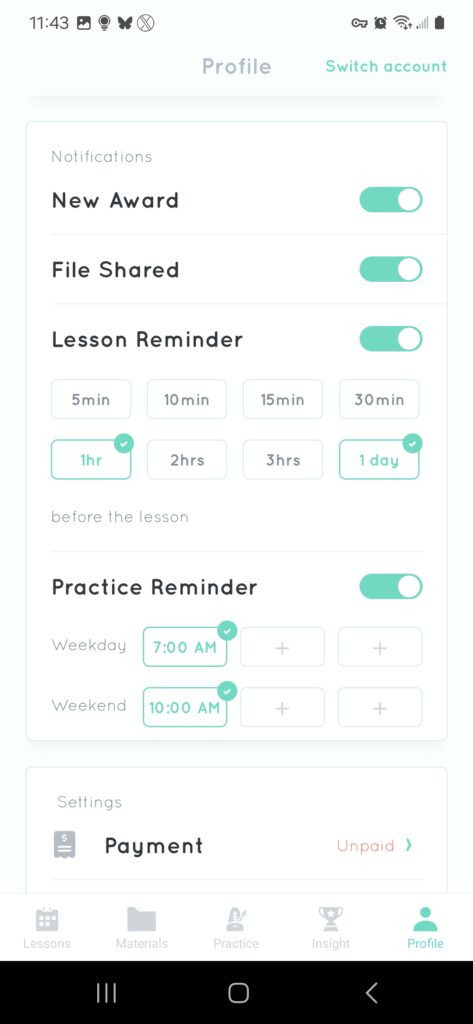
App notifications
If you would like your phone to notify you when I share a file with you, to remind you of upcoming lessons—or even to remind you to get some practice time in!—you may do that in your TuneKey settings. Just visit the Profile tab, then scroll down a bit to turn on as many notifications and reminders as you’d like!

